
 MO
MO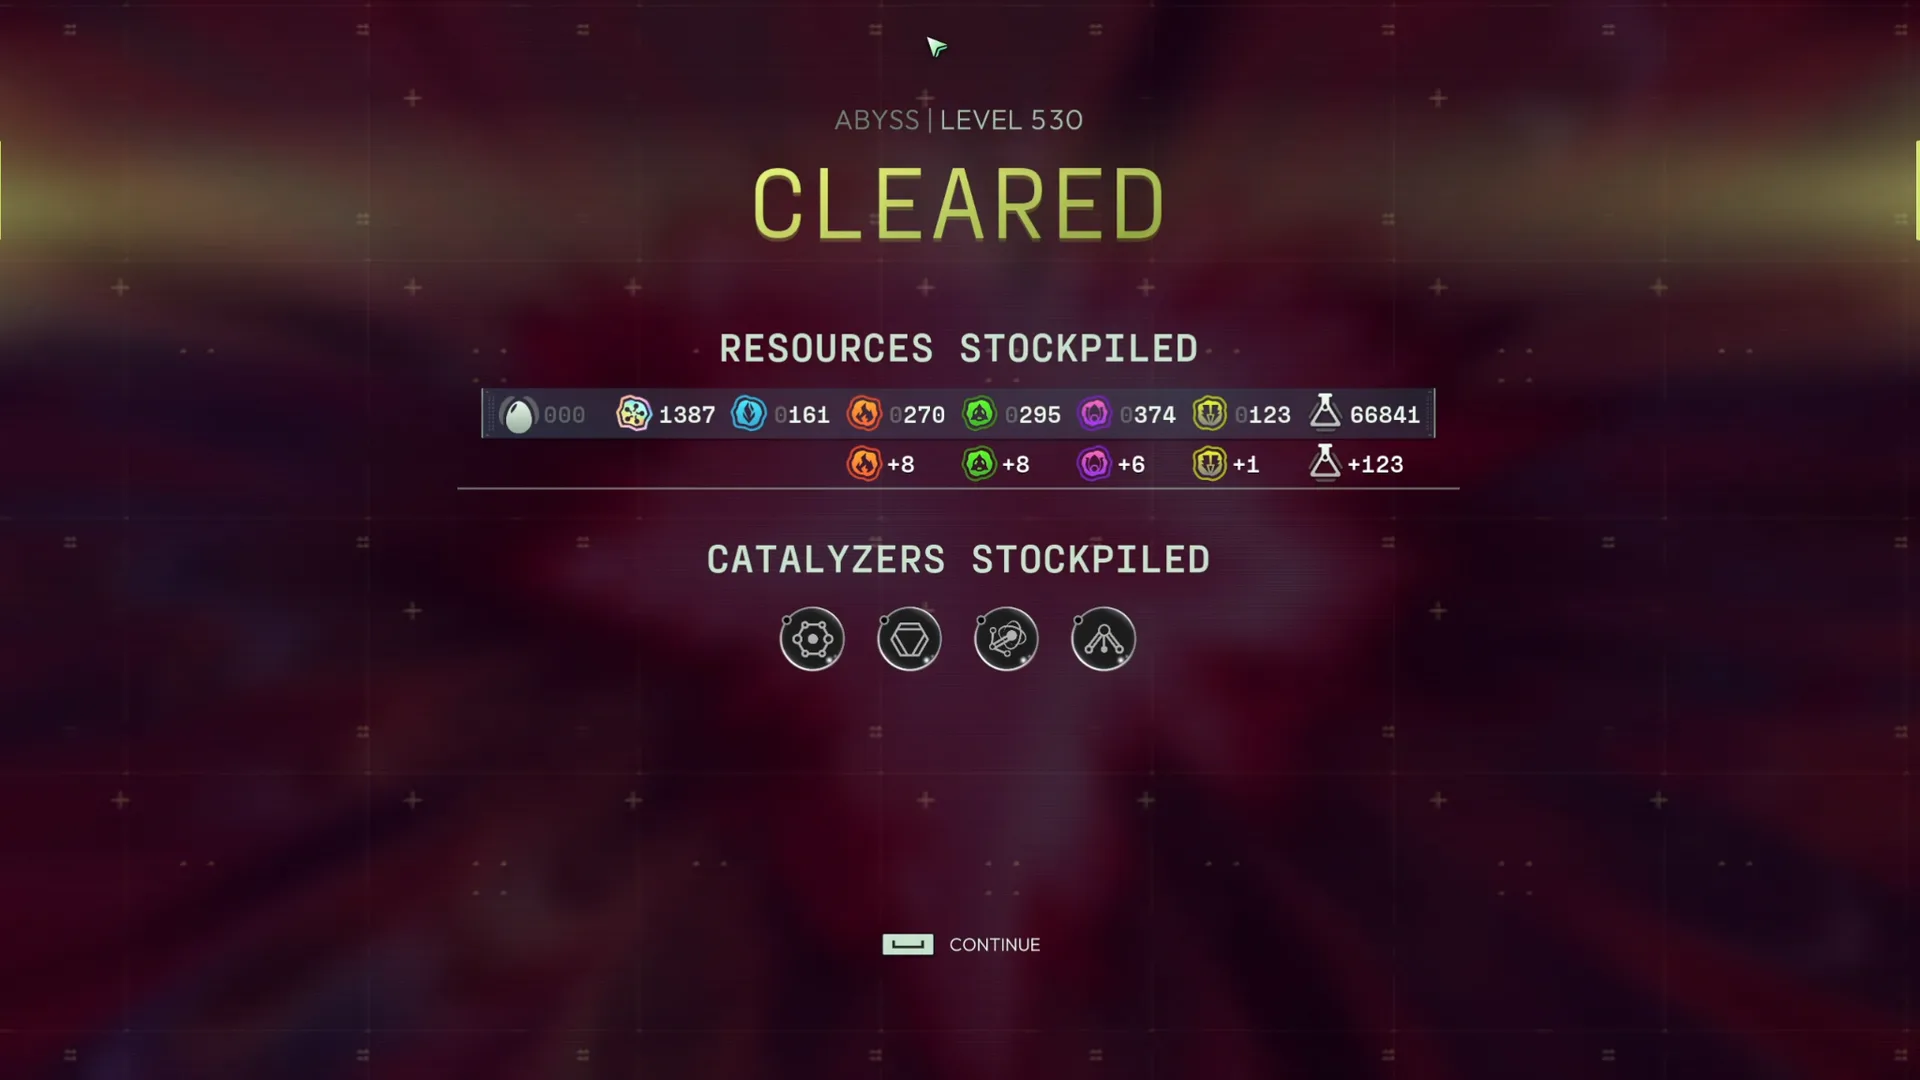
More images
Build dossier
Lumbering Landshark Morfang
 Neutral·Morfang
The theory
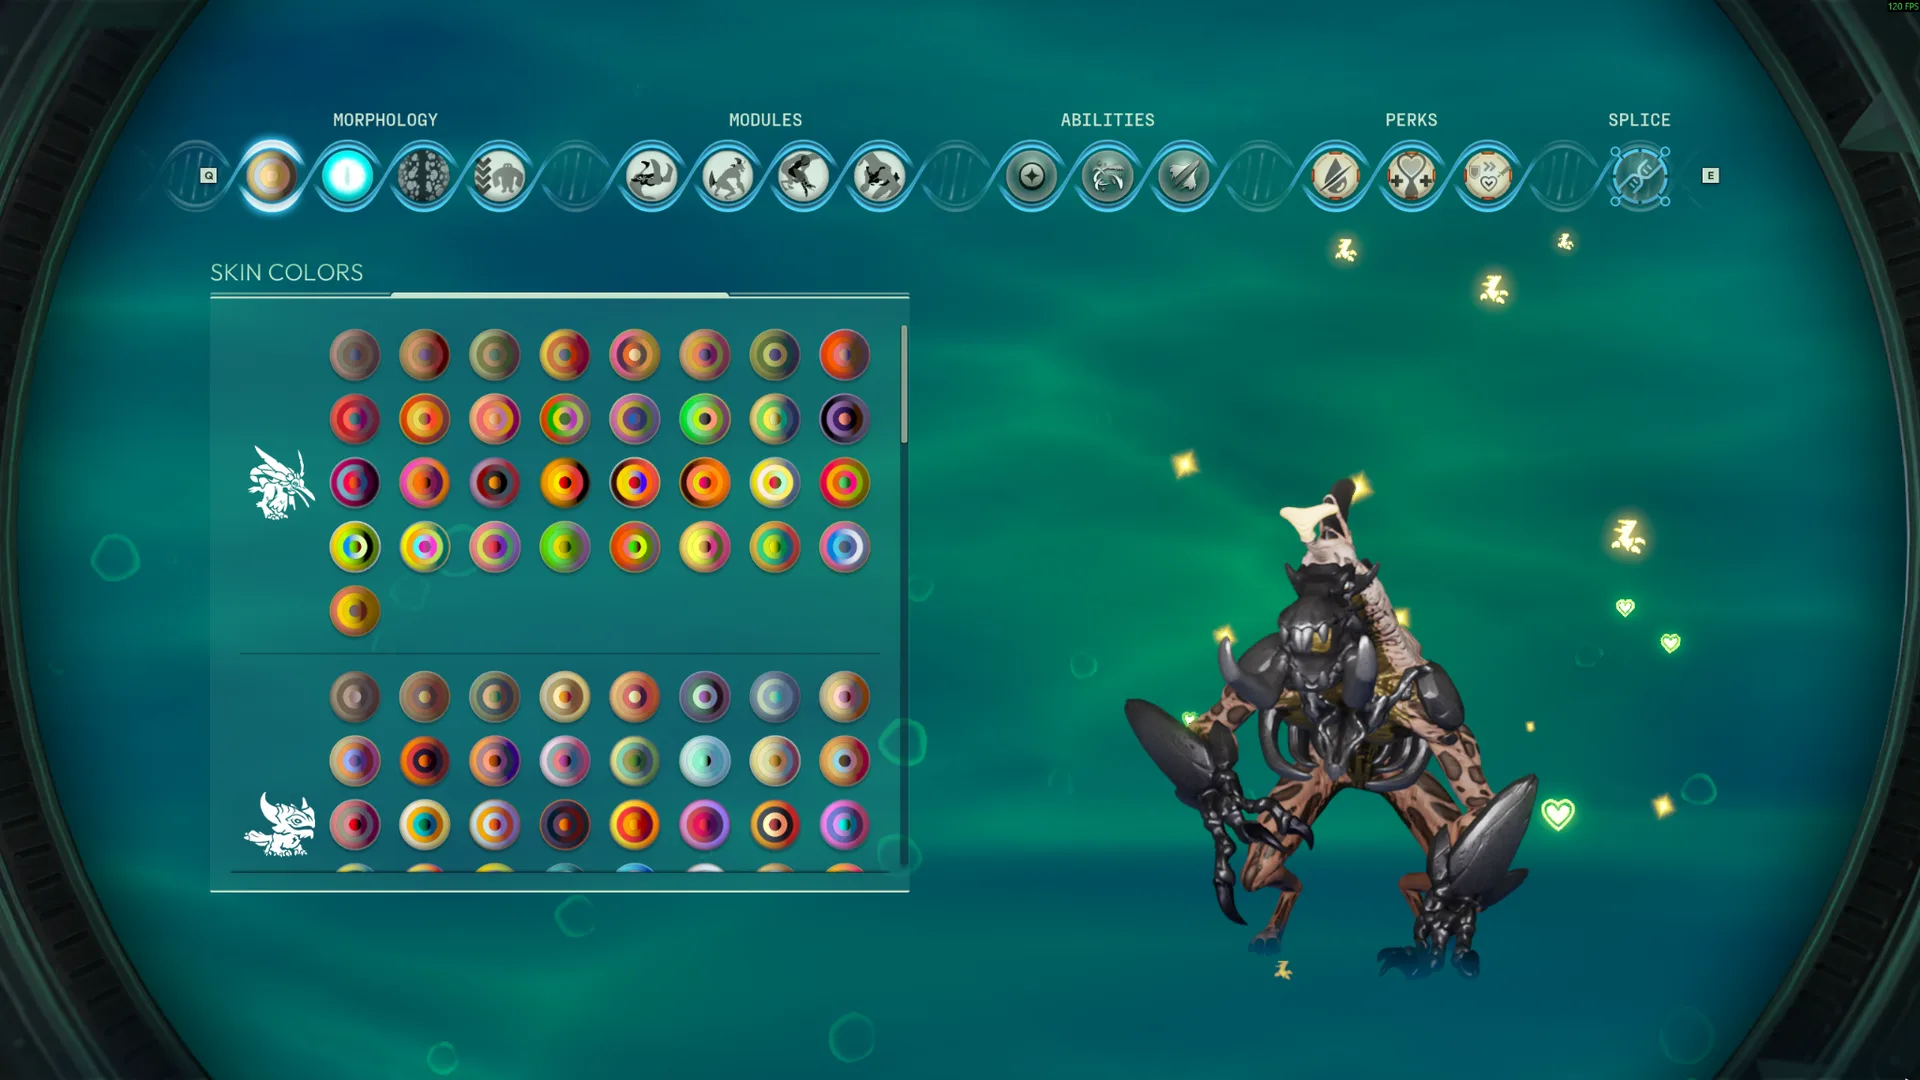
For this build, we're leaning into Morfang's natural meta: Bleed, Transfusion, and Fatal Wound.
Normally I like experimenting with weird interactions and off-meta setups, but this was the best way I found to push Morfang into high Wrangler Abyss while still feeling practical to play.
You are definitely not pushing leaderboards with this one, and that's okay. Based on the feedback I've gotten, most people aren't trying to push hundreds and hundreds of Abyss floors anyway. I stopped at Abyss 530 because that already felt well beyond what most players realistically need from a favorite Voidling build, and if you play below Wrangler difficulty it should go even farther.
I'm calling this one the Lumbering Landshark because this build makes Morfang absolutely massive, painfully slow on land, and gives him a huge health pool.
The biggest challenge with Morfang is survivability. For a melee Voidling, he surprisingly lacks many of the natural defensive tools that some other Voidlings have access to. He gets mobility, crowd control, and attack buffs, but the difference between sitting at 0-1 armor stack versus having several armor stacks is massive in deep Abyss.
Since Morfang does not have the same natural defensive scaling as some other Voidlings, this setup leans heavily into raw HP. The larger health pool gives you more time to apply Bleed, get Transfusion healing started, and recover from mistakes before a bad hit turns into a death.
The playstyle is still highly aggressive and fast moving, but only if you constantly use Burrow. Outside of Burrow and his secondary lunge, this build is painfully slow.
Most of the time, you’ll be using your normal primary attack for direct damage and Bleed, then using your burrowed secondary for fast movement, gap closing, pseudo-flight, and wide AoE Bleed application. Hold the secondary button while burrowed to empower the lunge and send Morfang much farther.
The burrowed primary is mainly a stun tool. It does not seem to apply elemental effects, which means it does not apply Bleed. Be careful with that, because this build hits hard enough to kill a lot of enemies with the stun hit or follow-up before you ever get proper Bleed healing started.
One fun trick with burrowed primary is using that stun on certain bosses right after their invulnerability shield drops, while their appearance animation is still playing. If you hit them during that window, it can cancel the animation and force them directly into their battle state.
Another is if you have a Protector Mob, use the burrow then do an empowered uppercut, that casts float in a huge area. It will single out the Protector mob to easily take them out.
Basically, you get to smack the boss and tell it to hurry up.
It only saves a few seconds each time, but over hundreds of floors that can turn into several minutes saved.
The ultimate is rarely used, but it is useful when you need a large safety window. Think of it more as an emergency reset or breathing-room tool than something you constantly spam.
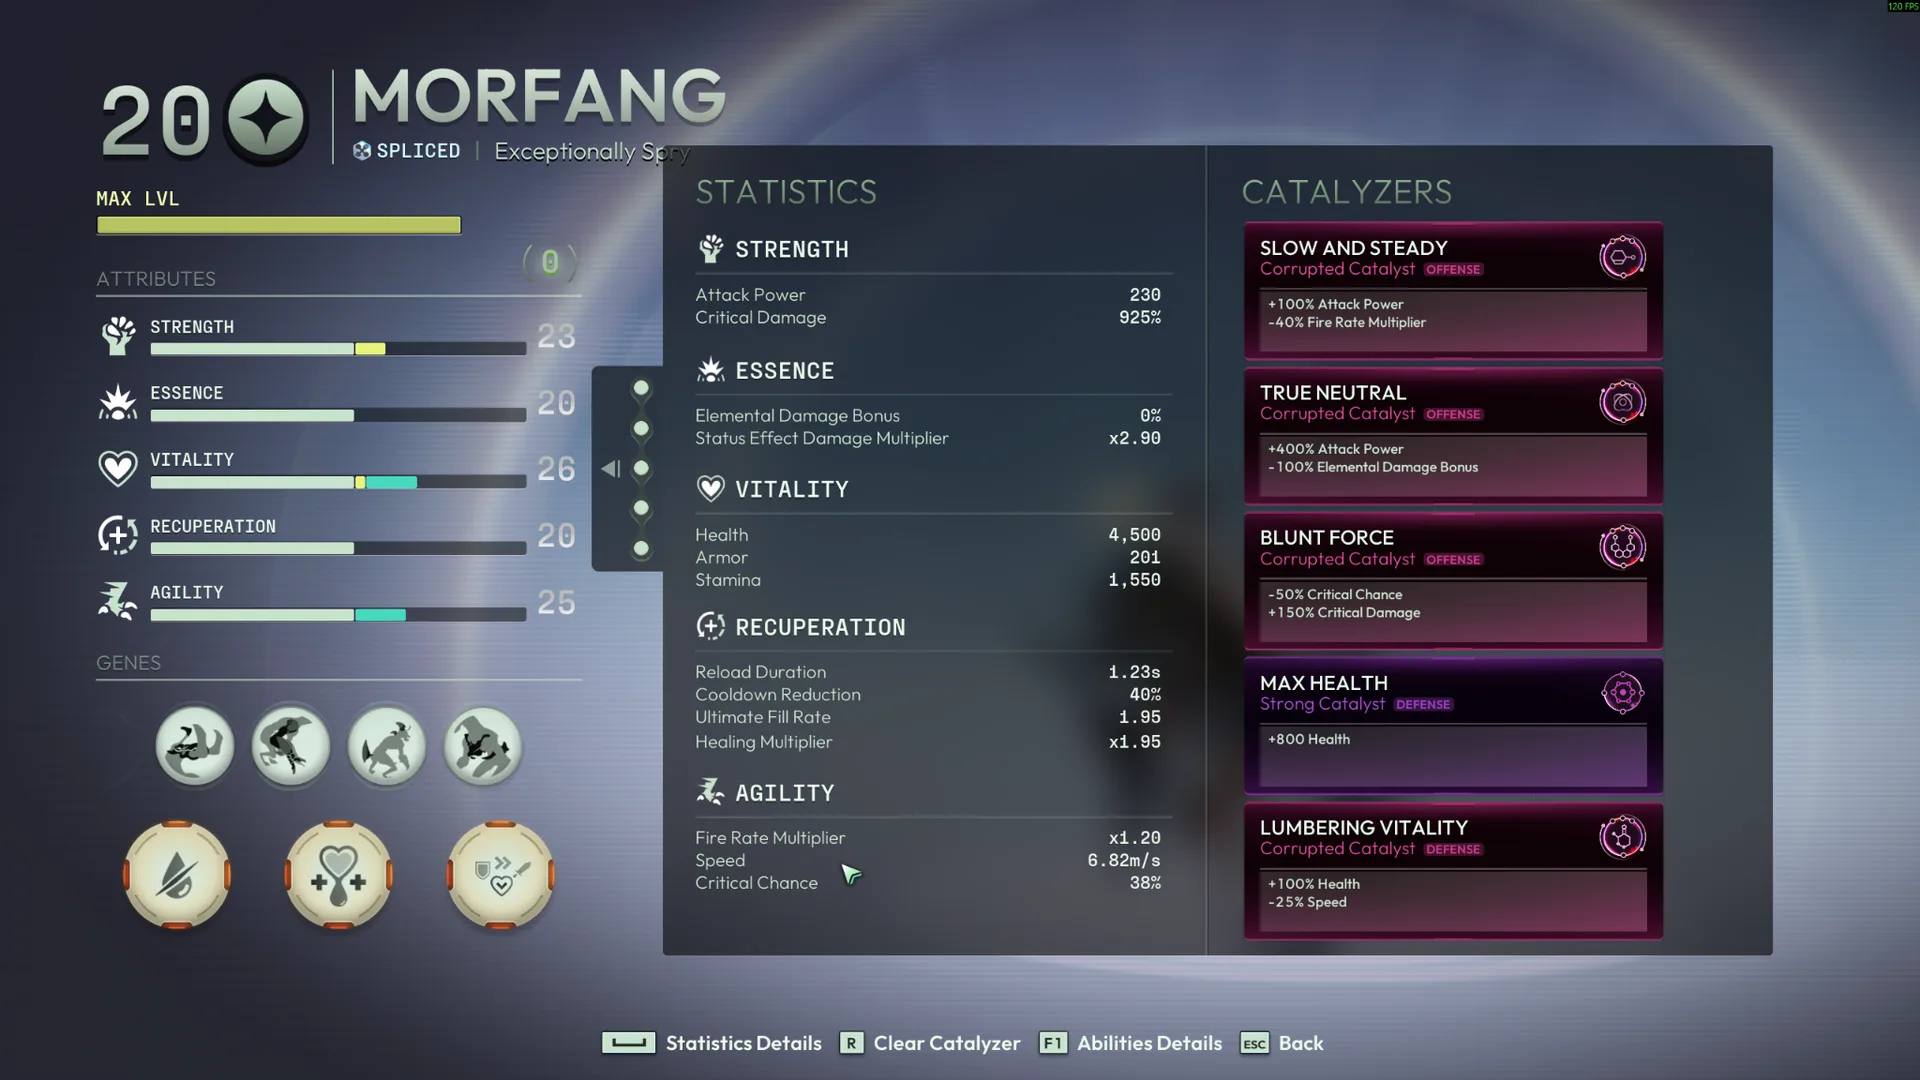
The Catalyzers focus on high damage and extremely high crit damage while maintaining a respectable crit chance. If you want faster clears and don't mind a riskier push, you can trade the 800 HP Catalyzer for 20% crit chance.
One thing to watch out for: this build hits ridiculously hard.
Even into the 200s, you can still one-shot normal enemies and some elites. No Bleed means no Transfusion healing, so you need to stay aware of your HP and avoid instantly deleting all of your healing sources. If this is too much of a hassle, you can use a different healing ability like vampirism or the one that heals off melee, but it falls off the deeper you go versus Transfusion.
Ironically, this build actually feels better the tankier enemies become, because they survive long enough to bleed and feed your sustain.
Modules
 +1 Strength
+1 Strength
+1 Strength
+1 Strength
+1 Strength
 +1 Vitality
Abilities
NeutralNeutral against all factions.
Status effects
Up to 5 stacks of Neutral damage over time, with the fastest damage tick rate.
Uppercut and apply Float when the ability is empowered.
Burrow underground, evading enemy projectiles and melee attacks.
Burrow underground and place a trail of explosive mines, each detonating into a swarm of damage-dealing shrapnel.
Spin and slash enemies, releasing elemental projectiles.
Neutral
Status effects
Up to 5 stacks of Neutral damage over time, with the fastest damage tick rate.
Charge, lunge, and bite; release elemental projectiles randomly.
Neutral
Status effects
Up to 5 stacks of Neutral damage over time, with the fastest damage tick rate.
Perks
 Gwigoon
 Morfang
Catalyzers · ordered
 Slow And Steady
+100% Attack Power, -40% Fire Rate Multiplier
Slow And Steady
+100% Attack Power, -40% Fire Rate Multiplier
 True Neutral
+400% Attack Power, -100% Elemental Damage Bonus
True Neutral
+400% Attack Power, -100% Elemental Damage Bonus
 Blunt Force
-50% Critical Chance, +150% Critical Damage
Blunt Force
-50% Critical Chance, +150% Critical Damage
 Max Health
+800 Health
Max Health
+800 Health
 Lumbering Vitality
+100% Health, -25% Speed
Lumbering Vitality
+100% Health, -25% Speed
Decaying Matter was also hard to pass up. I tried other ways to get tankier, but most of them made the build feel worse or changed the playstyle too much. Decaying Matter gave me some survivability without sacrificing the aggression, plus the speed and damage buffs are just really useful.
I did test a higher crit version with over 1000% crit damage and 50%+ crit rate, and it melted things much faster, but survivability fell off hard around Abyss 400.
My biggest gripe is still that most healing perks don’t feel anywhere near as strong as Transfusion, which limits some Voidlings’ kits.