

 GI
GI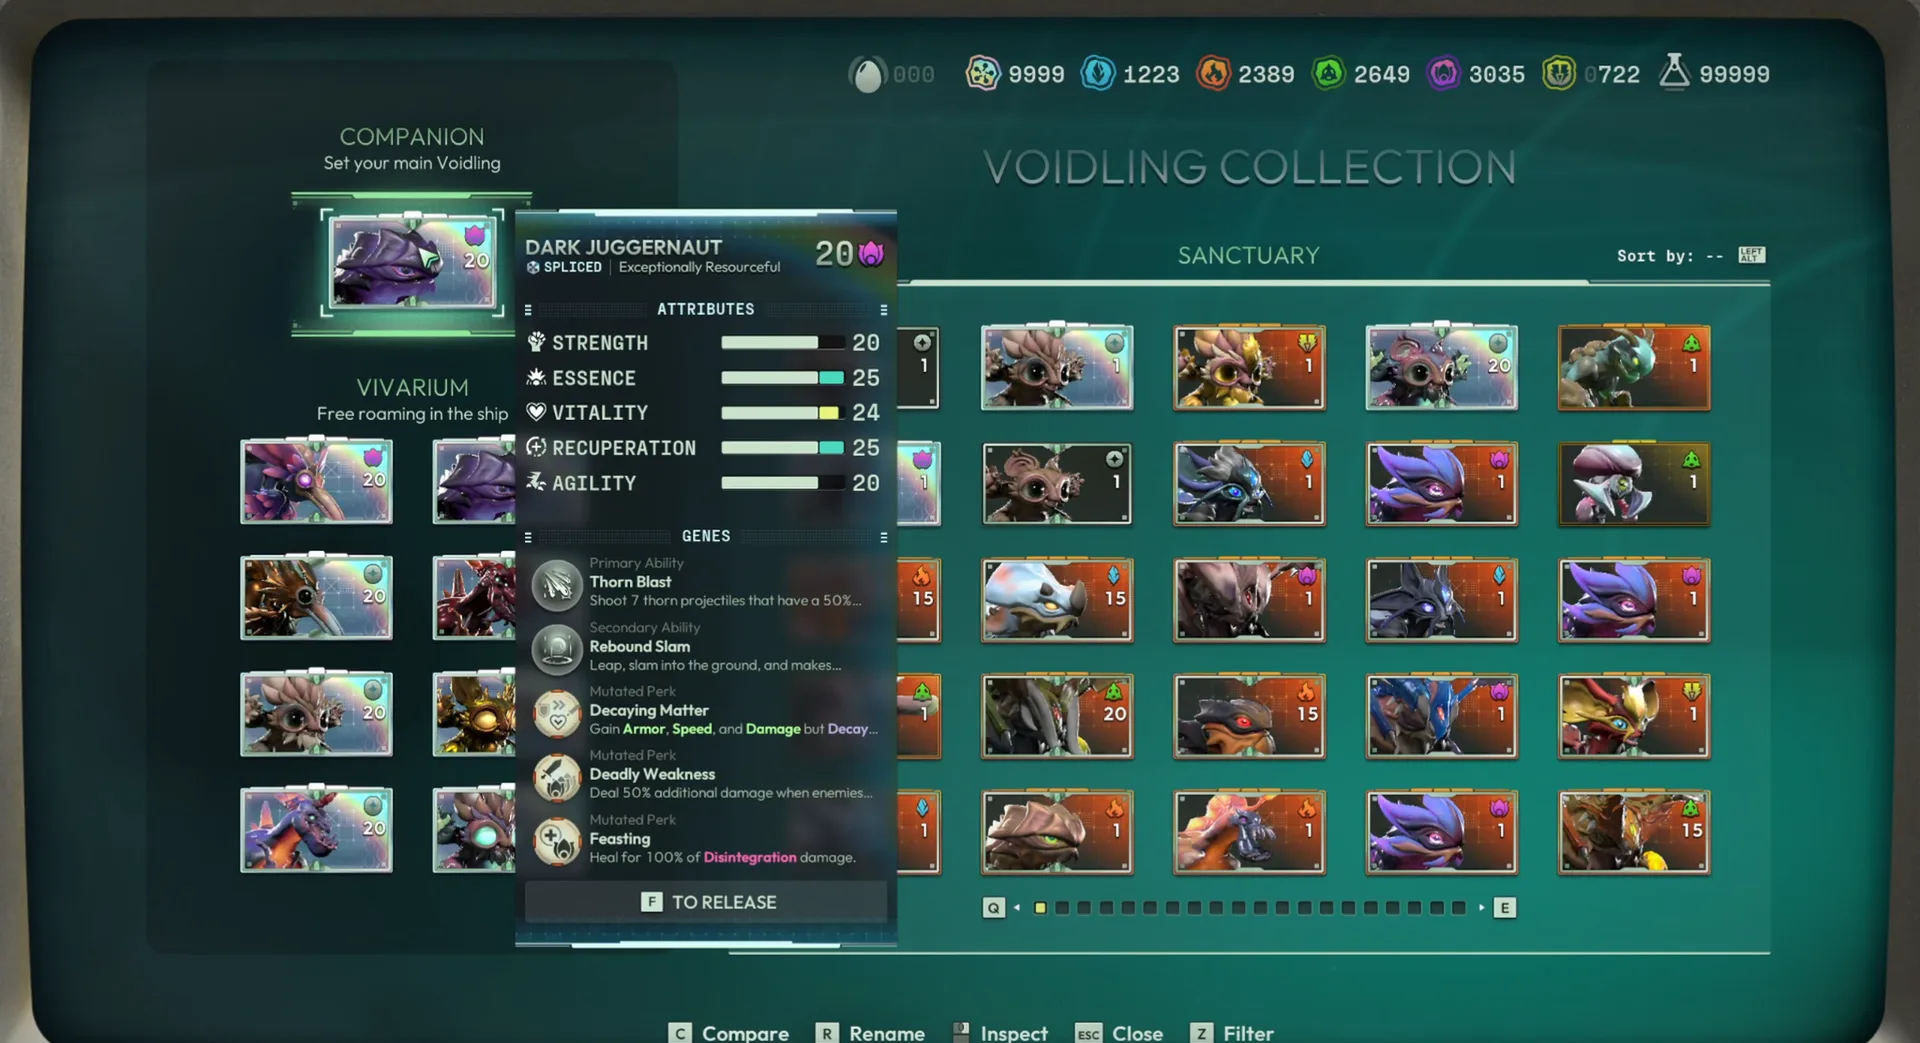 GI
GI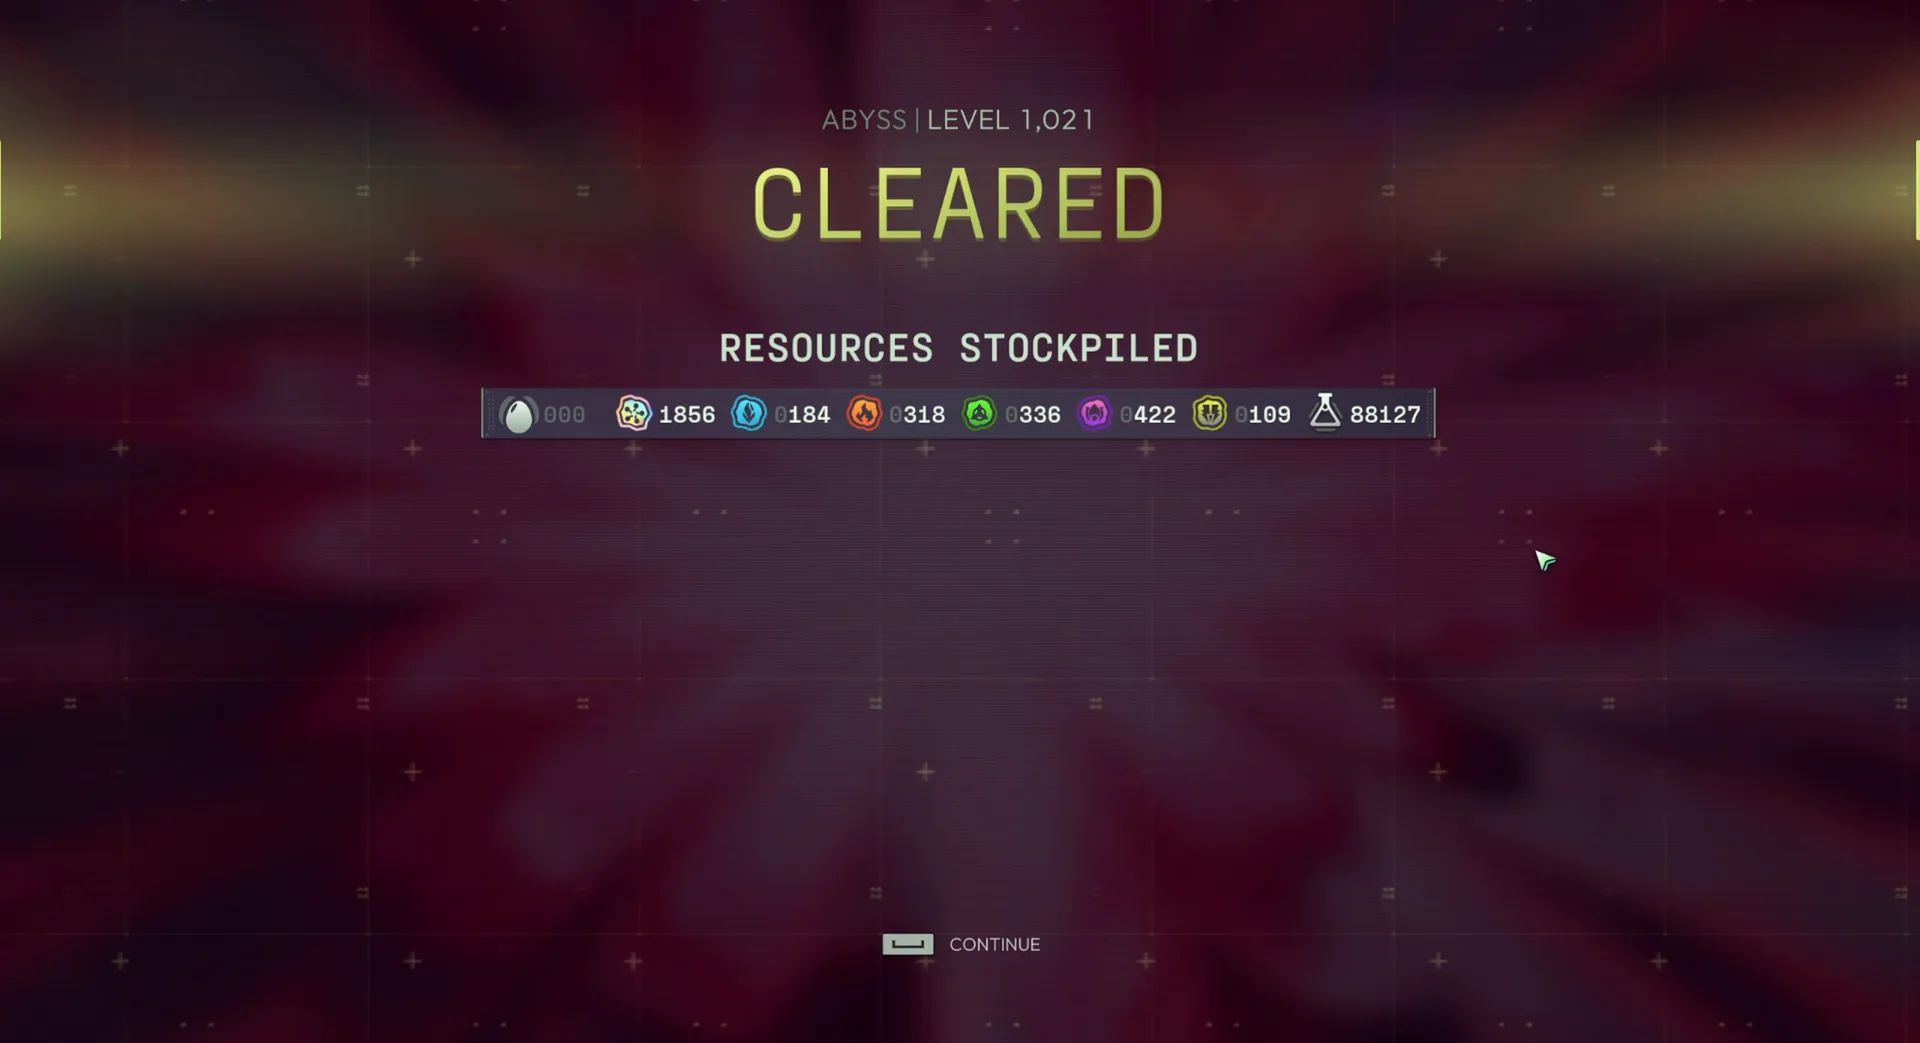
More images
Build dossier
Dark Juggernaut Gilick
 Plasma·Gilick
The theory
Dark Juggernaut Gilick
---------------------------------------------------------------------------------------
Alright, so I figured I would look at a non-meta build. No Neutral, no Bleed, and no executes. Gilick also looked like it needed some love.
I could've easily pushed farther, and I think the video shows that. I had no real survivability issues while the damage absolutely melted everything. I stopped at 1000+, but from my experience pushing past 2000 on my Son Goku build, this feels like another functionally immortal build when played correctly. It actually feels more consistently tanky while hitting much harder than my Immortal Son Goku build. Unfortunately, I just don't have the time to commit to another 2000-floor push. At this point, anything beyond 2000 is mostly just for ego anyway lol.
---------------------------------------------------------------------------------------
Why/How This Works:
---------------------------------------------------------------------------------------
The build stacks Elemental Damage and Status Damage as high as possible, taking Plasma to ridiculous damage levels while massively boosting Disintegration. Gilick's primary attacks more like a giant shotgun with the speed of a fire hose, so it builds and detonates Disintegration extremely quickly. It even burns through enemy damage resistance phases at 1000+. Just be warned—it can create enough effects to cause noticeable lag. It also burns stamina extremely fast, so you'll be reloading constantly.
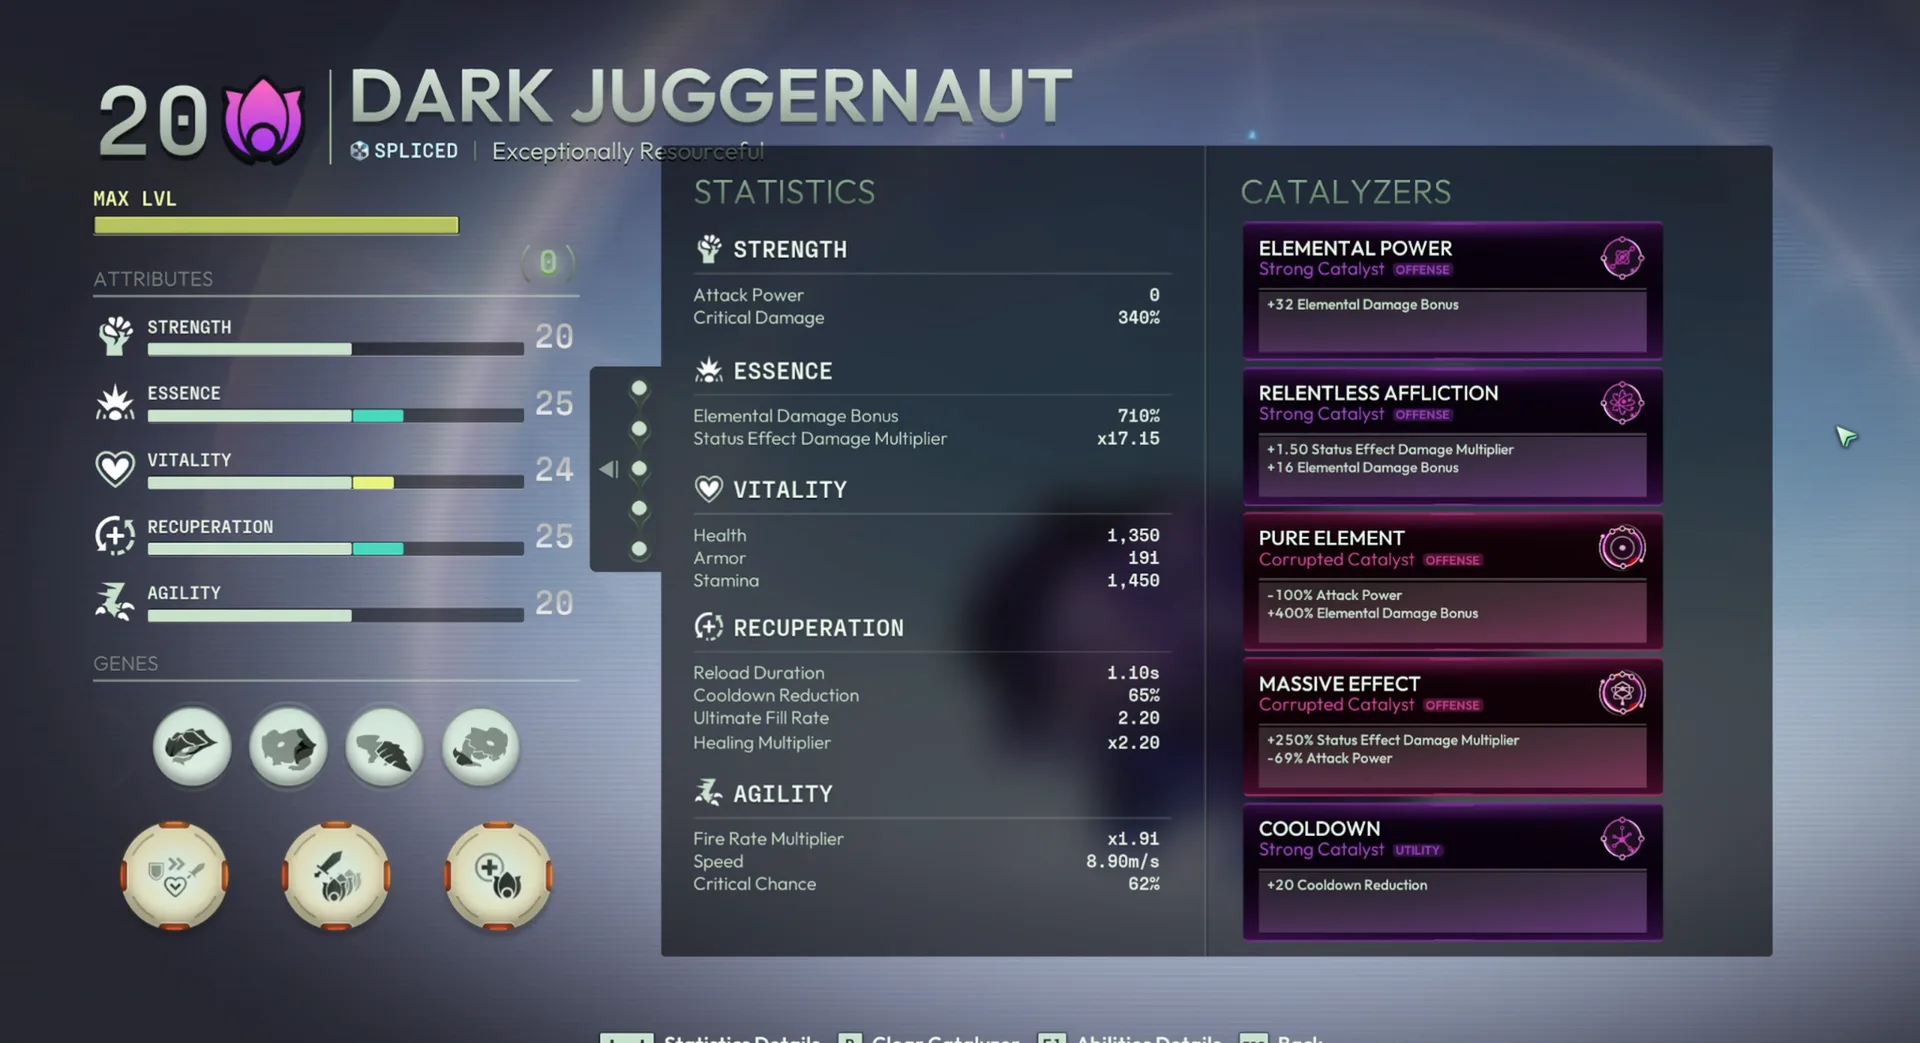
Exceptionally Resourceful is used to push Elemental Damage, Status Damage, healing, and cooldown reduction even higher. The cooldown reduction is especially important because you'll be casting your defensive ability every time it comes off cooldown.
The core interaction is between Decaying Matter and Gilick's defensive ability. Decaying Matter constantly damages you, and for some reason those self-damage ticks count as triggering the parry/block effect. That lets you reliably maintain six armor stacks almost permanently while also gaining the speed buff and guaranteed block from every activation.
The loop is simple: activate your defensive ability, then either an enemy attack or a Decaying Matter tick immediately triggers it. The activation gives you temporary invulnerability, armor, a speed stack, and a guaranteed block. That block usually lasts long enough for your defensive ability to come back off cooldown, letting you repeat the cycle over and over.
Rebound Slam is an incredibly versatile tool. It can be used for mobility by aiming it across gaps or around terrain, letting you skip parts of certain tower layouts. It's also an amazing crowd control skill, launching enemies in a huge area into the air and leaving them helpless while you focus priority targets or safely unload into them. If you need to disengage, you can simply aim it away to create breathing room and escape. On top of that, using Rebound Slam temporarily increases your armor from six to nine stacks, making it an excellent defensive cooldown. Most bosses can also be floated briefly, giving you a short but valuable damage window.
Gilick's Ultimate is another surprisingly useful part of the kit. It does a great job clearing out annoying duplicating enemies or enemies spread around the map, often killing them before they become a problem. During larger fights, it also adds another steady source of damage ticking away while you continue stacking and detonating Disintegration with your primary.
Overall, it gives Gilick an incredibly fast, hyper-aggressive playstyle. You're constantly in the middle of the fight, literally damaging yourself to become stronger, and feeling like a heavily armored Juggernaut of plasma. The build felt so absurdly tanky that I ended up running zero defensive Catalyzers, investing everything into offense instead.
On a personal note, I think this little guy might actually take my number one spot as my favorite Voidling. I honestly didn't expect to come away this impressed. He feels stronger than my Son Goku build, the playstyle is ridiculously fun, and the whole kit just flows together. Plus... look at the little badass. He's basically a tiny armored dragon running around pressure-washing the Abyss with Plasma while refusing to die.
Modules
 +1 Vitality
+1 Vitality
+1 Vitality
+1 Vitality
+1 Vitality
+1 Vitality
+1 Vitality
Abilities
PlasmaEffective against all factions.
Status effects
Up to 5 stacks with no damage over time; every stack beyond 5 triggers a Plasma overflow for massive damage.
Floated enemies hover in the air for a few seconds before falling back down.
Dash and slash, executing low-health enemies.
Gain Block and spawn a damage-dealing whirlwind. On Block, release a devastating blast.
Hurl out a powerful damage-dealing wave of projectiles and create a damage-over-time blast zone on the ground that quickly shreds through enemies.
Shoot 7 thorn projectiles with 50% elemental status chance.
Plasma
Status effects
Up to 5 stacks with no damage over time; every stack beyond 5 triggers a Plasma overflow for massive damage.
Floated enemies hover in the air for a few seconds before falling back down.
Leap, slam, and make enemies Float.
Plasma
Status effects
Up to 5 stacks with no damage over time; every stack beyond 5 triggers a Plasma overflow for massive damage.
Floated enemies hover in the air for a few seconds before falling back down.
Perks
 Ur-Sek
 Gwigoon
 Packuran
Catalyzers · ordered
 Elemental Power
+32% Elemental Damage Bonus
Elemental Power
+32% Elemental Damage Bonus
 Relentless Affliction
+1.5 Status Effect Damage Multiplier, +16 Elemental Damage Bonus
Relentless Affliction
+1.5 Status Effect Damage Multiplier, +16 Elemental Damage Bonus
 Pure Element
-100% Attack Power, +400% Elemental Damage Bonus
Pure Element
-100% Attack Power, +400% Elemental Damage Bonus
 Massive Effect
+250% Status Effect Damage Multiplier, -69% Attack Power
Massive Effect
+250% Status Effect Damage Multiplier, -69% Attack Power
 Cooldown
+20% Cooldown Reduction
Cooldown
+20% Cooldown Reduction
Comments
1 comment